Spring is creeping around the corner, and if you’re finally raising your head from your winter slumber, maybe you’re aching to see green again! Whether you’re a seasoned green thumb or a newbie ready to turn that patch of soil into a paradise of produce, prepping your raised beds early gives your plants a head start. Let’s dive into the steps to wake up your garden, once it’s dry enough that you won’t destroy the soil structure. Be gentle, because earthworms are not morning people, and like to hide in the dark.
Step 1: Assess the Condition of Your Raised Beds
Winter can be rough on raised beds, so start by giving yours a once-over. Check for:
- Rotting or damaged wood (if you have wooden beds) or shifting structures.
- Soil erosion—has the soil settled too much?
- Weeds or leftover plant debris from last season.
- Pests or fungal issues lurking beneath the surface.
If anything looks amiss, now’s the time to repair, reinforce, or replace as needed.
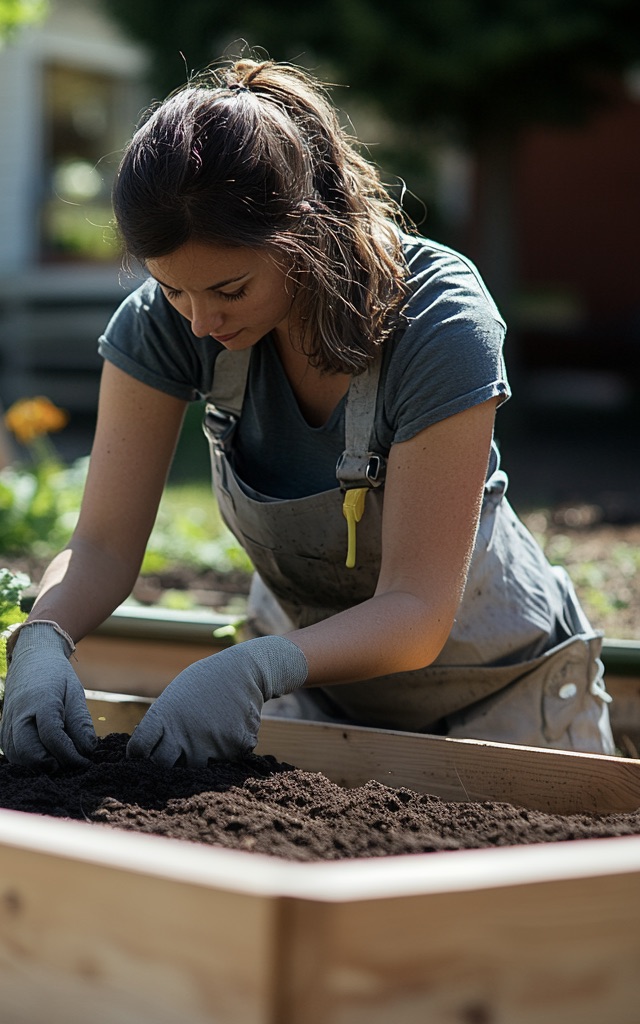
Step 2: Wake Up the Soil
Winter can leave your soil compacted and nutrient-depleted. Here’s how to refresh it:
- Loosen the soil with a garden fork, but don’t overwork it—you want to maintain that rich structure.
- Add compost—about an inch or two—to replenish nutrients.
- Incorporate organic matter like aged manure or leaf mold for improved texture and fertility.
- Check soil pH and nutrients with a simple test kit; adjust accordingly with amendments like lime (for acidic soil) or sulfur (for alkaline soil).
- My preferred method of adding to compacted soil in a raised bed is to create a grid of small trenches by pulling aside a few inches of soil, adding compost or leaf mold into the trenches, then covering with the soil you moved. This creates ridges. I plant between them, then change the placement of the ridges each year.
Step 3: Boost the Microbial Life
Healthy soil is teeming with beneficial microbes that help plants thrive. Encourage these tiny helpers by:
- Sprinkling worm castings or water with compost tea.
- Mulching with straw or shredded leaves to retain moisture and warmth.
- Avoiding synthetic fertilizers that can disrupt the natural balance of soil life.
Step 4: Plan & Organize Your Planting Layout
Raised beds offer prime real estate, so be strategic about what goes where:
- Rotate crops to prevent soil depletion and reduce disease risks.
- Companion plant to maximize space and deter pests naturally.
- Consider early season crops like peas, spinach, radishes, and carrots, which can handle cool temperatures.
Step 5: Set Up Any Needed Structures
Spring weather can be unpredictable. Get ahead of the game by:
- Installing hoop houses or row covers for frost protection.
- Adding trellises for climbing plants like peas and beans.
- Setting up drip irrigation or soaker hoses for consistent watering as the weather warms up.
Final Step: Mulch & Water
If you haven’t mulched already, do it now, and then water lightly daily. You want to keep the bed moist but not soggy.
Get Ready to Grow!
With your raised beds refreshed and ready, you’re set for an abundant gardening season. Whether you’re growing fresh greens, root veggies, or flowers, your early prep work will pay off in healthier plants and bigger harvests. Happy gardening!